I started using Personal Kanban in 2012 to help me gain control of my work. I felt busy but had little sense of making real progress. Using GTD to organise my ‘stuff’ helped but finishing work was a challenge because I had too much on the go at once. I read the Personal Kanban book and became an instant convert.
I wanted to find out more but struggled to find many examples of real-world usage. I hope these 2 posts prove useful for anyone in a similar situation.
Personal what now?
Personal Kanban has 2 simple rules:
- visualise your work
- limit your work in progress
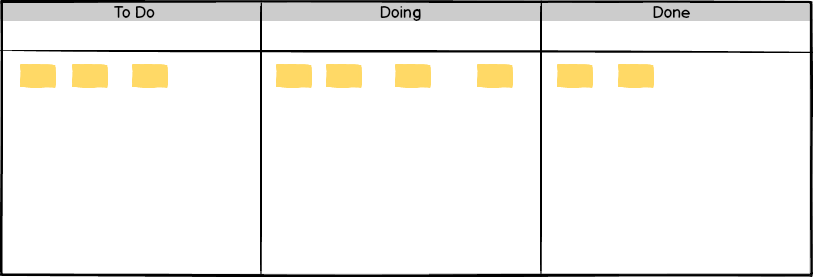
This is an example board from the Personal Kanban website. You can see:
- work visualised as cards and divided into columns
- a Work In Progress limit of 5 for work in the Doing state

Representing your work like this allows you to:
- show what state a piece of work is in by moving it from 1 column to another
- infer relative priorities based on a card’s position on the board.
- say whether work is blocked or held.
- know that you’re doing too much at once
Compare this approach with the traditional to-do list where items can only be done or not done. Personal Kanban is more expressive and helps you understand your work and limitations.
Decisions, decisions
I made 2 decisions when I made the switch to Personal Kanban.
1) Physical or a virtual board?
Virtual. A physical board needs free wall space which is often a scarcity. Moving a physical board from location to location is a tricky beast too. The virtual board allows me to:
- see my work irrespective of my location
- use other applications to interact with the board
2) What’s my initial workflow?
The example workflow:
helps to explain the theory but doesn’t represent how I get things done. I added 2 extra columns to help:
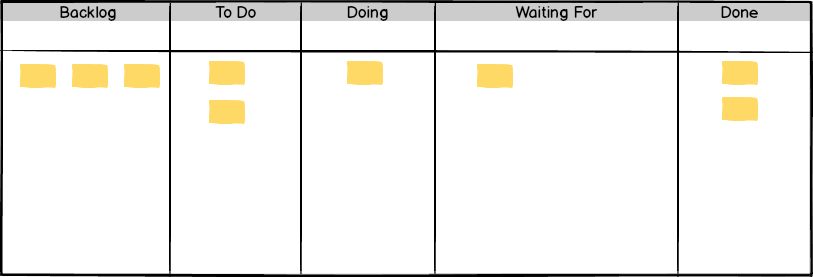
- Backlog: a repository of everything I need to do. This is a holding area to prevent me filling the To Do column with too many tasks.
- Waiting for: stuff that I need other people to complete before I can make the next step.
In the next post: details of my current set-up and what I’ve learned since I started.